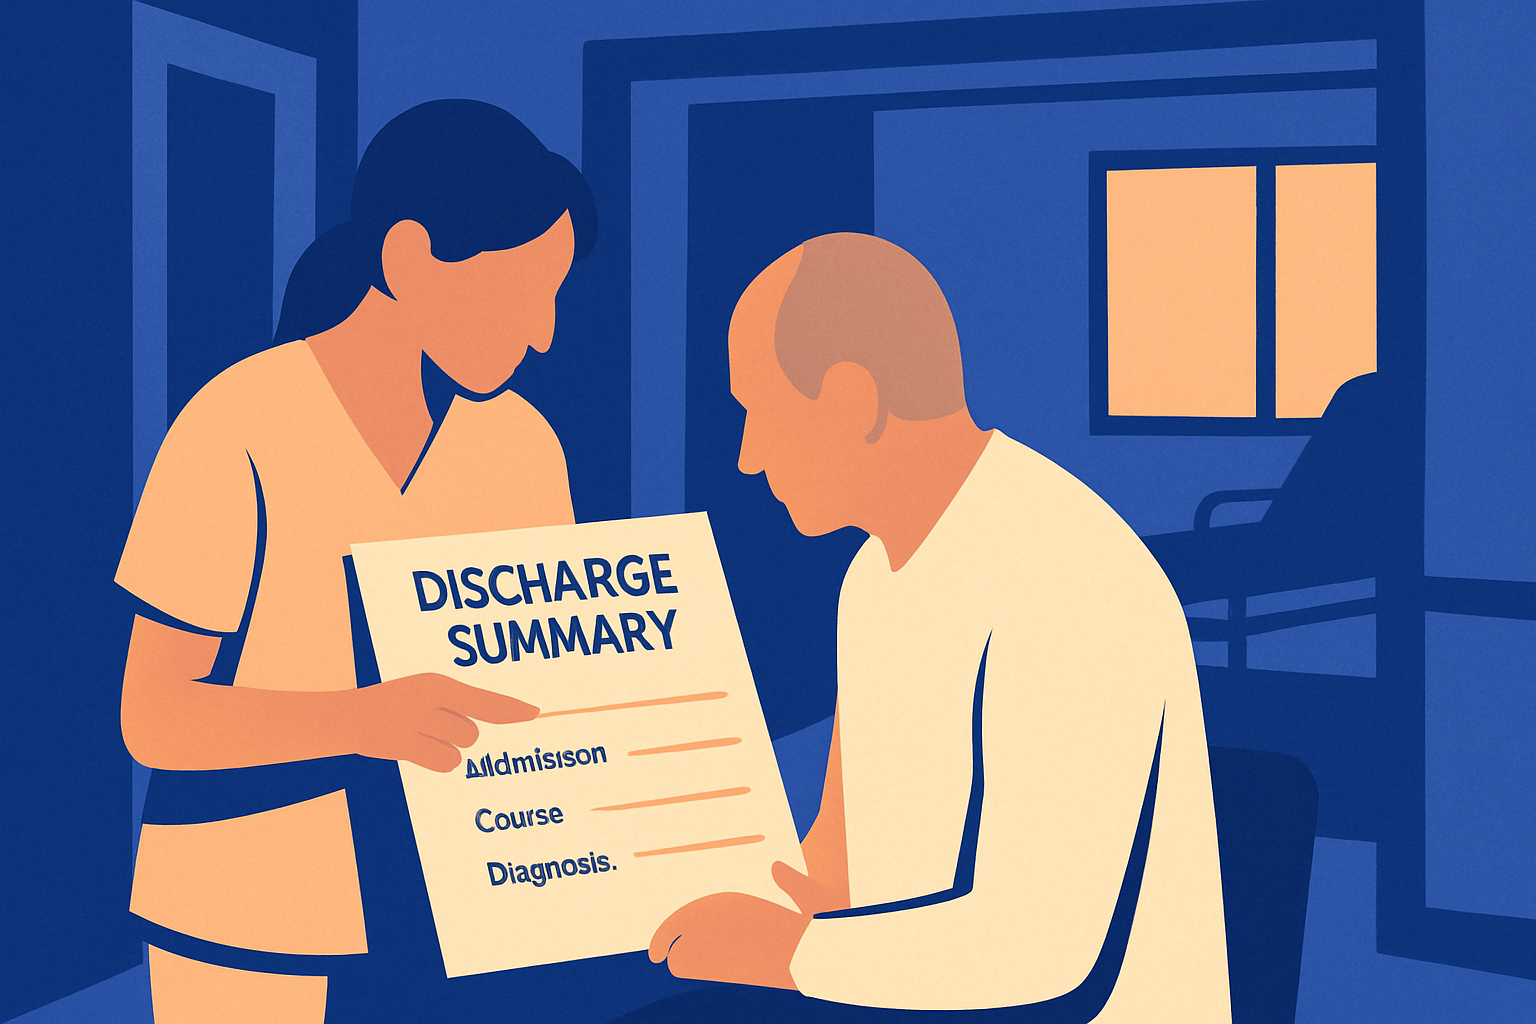
The discharge summary is a multi-page packet the hospital hands you on the way out. It has a lot of important information on follow-up appointments, medication changes, and other medical care needs. Three out of four caregivers never read it past the first page, so they miss important details. Here is the section-by-section walkthrough — what to read first, what to circle, and what to ask the discharge planner or nurse before you leave the hospital.
This guide is the walkthrough, in the order the document is usually printed. Each section has a purpose; each one tends to fail in a specific way. Reading the discharge summary out loud — literally out loud, even alone — is the single best trick for surfacing the words you do not understand. The words you do not understand are the ones you ask about.
TL;DR: Read the front-page summary out loud. Circle every term you cannot define to a sibling or friend over the phone. Match the medication-reconciliation list to the actual bottles at home. Confirm the follow-up appointment is booked, not just suggested. Tape the warning-signs page to the refrigerator. The discharge summary is a working document — keep it on the kitchen counter for the first two weeks.
Front page: admission, course, diagnosis
The first page usually summarizes the stay in three short sections: why the patient was admitted, what happened in the hospital (the 'hospital course'), and the discharge diagnosis. Read each one out loud. The act of reading aloud is what surfaces the words you do not recognize.
Circle any medical term you would not be able to define to a sibling on the phone. Those circled words are the ones to ask the case manager or the follow-up provider about. While your loved one may have improved in the hospital, there is often a specific change in status or care needs to follow up on.
Medication reconciliation: the highest-risk page
The medication section typically located towards the front of the packet. It will name every medication, the dose, the timing, and a status: new, continued, changed, or stopped. The most common cause of a readmission to the hospital is a medication taken at the wrong dose, at the wrong time, or twice — once from the new list and once from the old bottle in the cabinet.
At home, gather every bottle and box on the kitchen counter — including supplements and anything in the bathroom cabinet — and match each one to the list. Anything on the list that is not on the counter, write down. Anything on the counter that is not on the list, write down. Take both lists to the first follow-up visit or the pharmacy.
The companion post What is medication reconciliation — making sure your parents are taking medications correctly walks through this exercise in more detail. Read it before you start the bottle-by-bottle match.
Follow-up: who, when, and 'within X days'

The follow-up section will name a provider, sometimes a specialist, and a window — 'within seven days,' 'within two weeks.' This is the section most likely to quietly fail. A note that says 'patient to follow up' without a date is a note that often never becomes an appointment.
If the appointment is not yet booked when the discharge summary is printed, ask for help setting the appointment before you leave the building. Many times, the case manager can book the first follow-up visit for you. If a specialist is involved, get the name and phone number before you leave the meeting. Save both numbers in your phone the day of discharge - rather than searching through paperwork days later.
Warning signs: the page to tape to the refrigerator
Most discharge summaries include a warning-signs page — 'red flags,' 'when to call the doctor,' 'when to call 911.' This is the page that has to leave the folder and live on the refrigerator. It is the page a sibling, a neighbor, or a visiting aide will read first.
If the warning-signs page is generic ('call if you do not feel well'), ask for one that is specific to the diagnosis. Heart failure has a different list than a pneumonia recovery. A new blood thinner has a different list than a stable cardiovascular medication. The case manager or the floor nurse can usually print a diagnosis-specific list on request.
Equipment, services, and 'orders'
Toward the back of the discharge summary, there is usually a list of orders — equipment that has been ordered (walker, oxygen, hospital bed, commode), services that have been authorized (home health, PT, OT), and instructions about wound care, weight-bearing, or activity limits. Each order has a name, a date, and a vendor.
Call the equipment vendor before you leave the building. Confirm the delivery time, who pays, who shows the family how to use each item, and whether installation is included. If the vendor is closed and the equipment is supposed to arrive tonight, ask the case manager for the after-hours number. It’s important that there is a walkthrough of the new equipment, so everyone understands how to use it properly.
For the home setup that the equipment fits into, the existing companion piece An ounce of prevention: simple home changes that prevent trips to the ER is the room-by-room walkthrough.
Special-section pages: imaging, labs, consults

Some discharge summaries include short summaries of imaging studies (the CT scan, the chest X-ray), labs ('your kidney function on the day of discharge was X'), and any specialist consults that happened during the stay. These pages are useful at the first follow-up — they save the primary-care provider from re-ordering tests and they help the family understand what the hospital actually saw.
Bring the discharge summary to the first follow-up visit. The primary-care office often does not yet have the records in their electronic system; the paper copy in your folder is faster than the digital one in transit.
Putting the summary to work in the first two weeks

The discharge summary is a working document, not a souvenir. For the first two weeks, keep it on the kitchen counter. Re-read the warning-signs page at the end of week one. Bring it to the first follow-up visit. Match the medication list to the bottles every Sunday evening when you fill the pill organizer. Mark off each follow-up appointment as it gets booked.
- Print the medication list separatelyPull the medication-reconciliation list out of the discharge packet, print a fresh copy, and tape it inside the cabinet door above the kitchen counter.
- Photograph the warning-signs pageTake a photo of the warning-signs page and save it in the phones of every adult in the house. The page on the fridge is for the home; the photo is for the car and the office.
- Write the after-hours nurse line on the fridgeOld technology, on purpose: in the middle of the night, paper beats searching. Write the number on a sticky note on the front of the kitchen phone.
- Keep the original in a single folderA real, physical folder. A $0.50 manila folder beats any app on discharge week, because the staff hand you paper.
- Bring it to every follow-up for the first monthThe first follow-up provider, the pharmacy walkthrough, and any specialist visit will all benefit from the paper copy.
- Re-read the front page at one weekA second pass at the diagnosis section a week in often surfaces a question that did not occur to you on discharge day.
For the broader 48-hour playbook this discharge-summary review fits inside, see The 48-Hour Hospital Discharge Plan. For the longer pillar of related guides, the Hospital Discharge hub has the full set.
A note on what helps: Aging Sidekick can help you turn the multi-page discharge summary into a one-page plain-English version — the diagnosis, the medications, the warning signs, the follow-up — built from uploading the document or talking it through in a fifteen-minute voice intake. Free to start. We complement, not replace, your healthcare team.
Plan a safe discharge with Aging Sidekick
Aging Sidekick walks you through every question, document, and decision before your parent leaves the hospital — built around the specific care situation in front of you.
Start your discharge planSee how Aging Sidekick helps →